Workflows

Film scanning

Film Negative

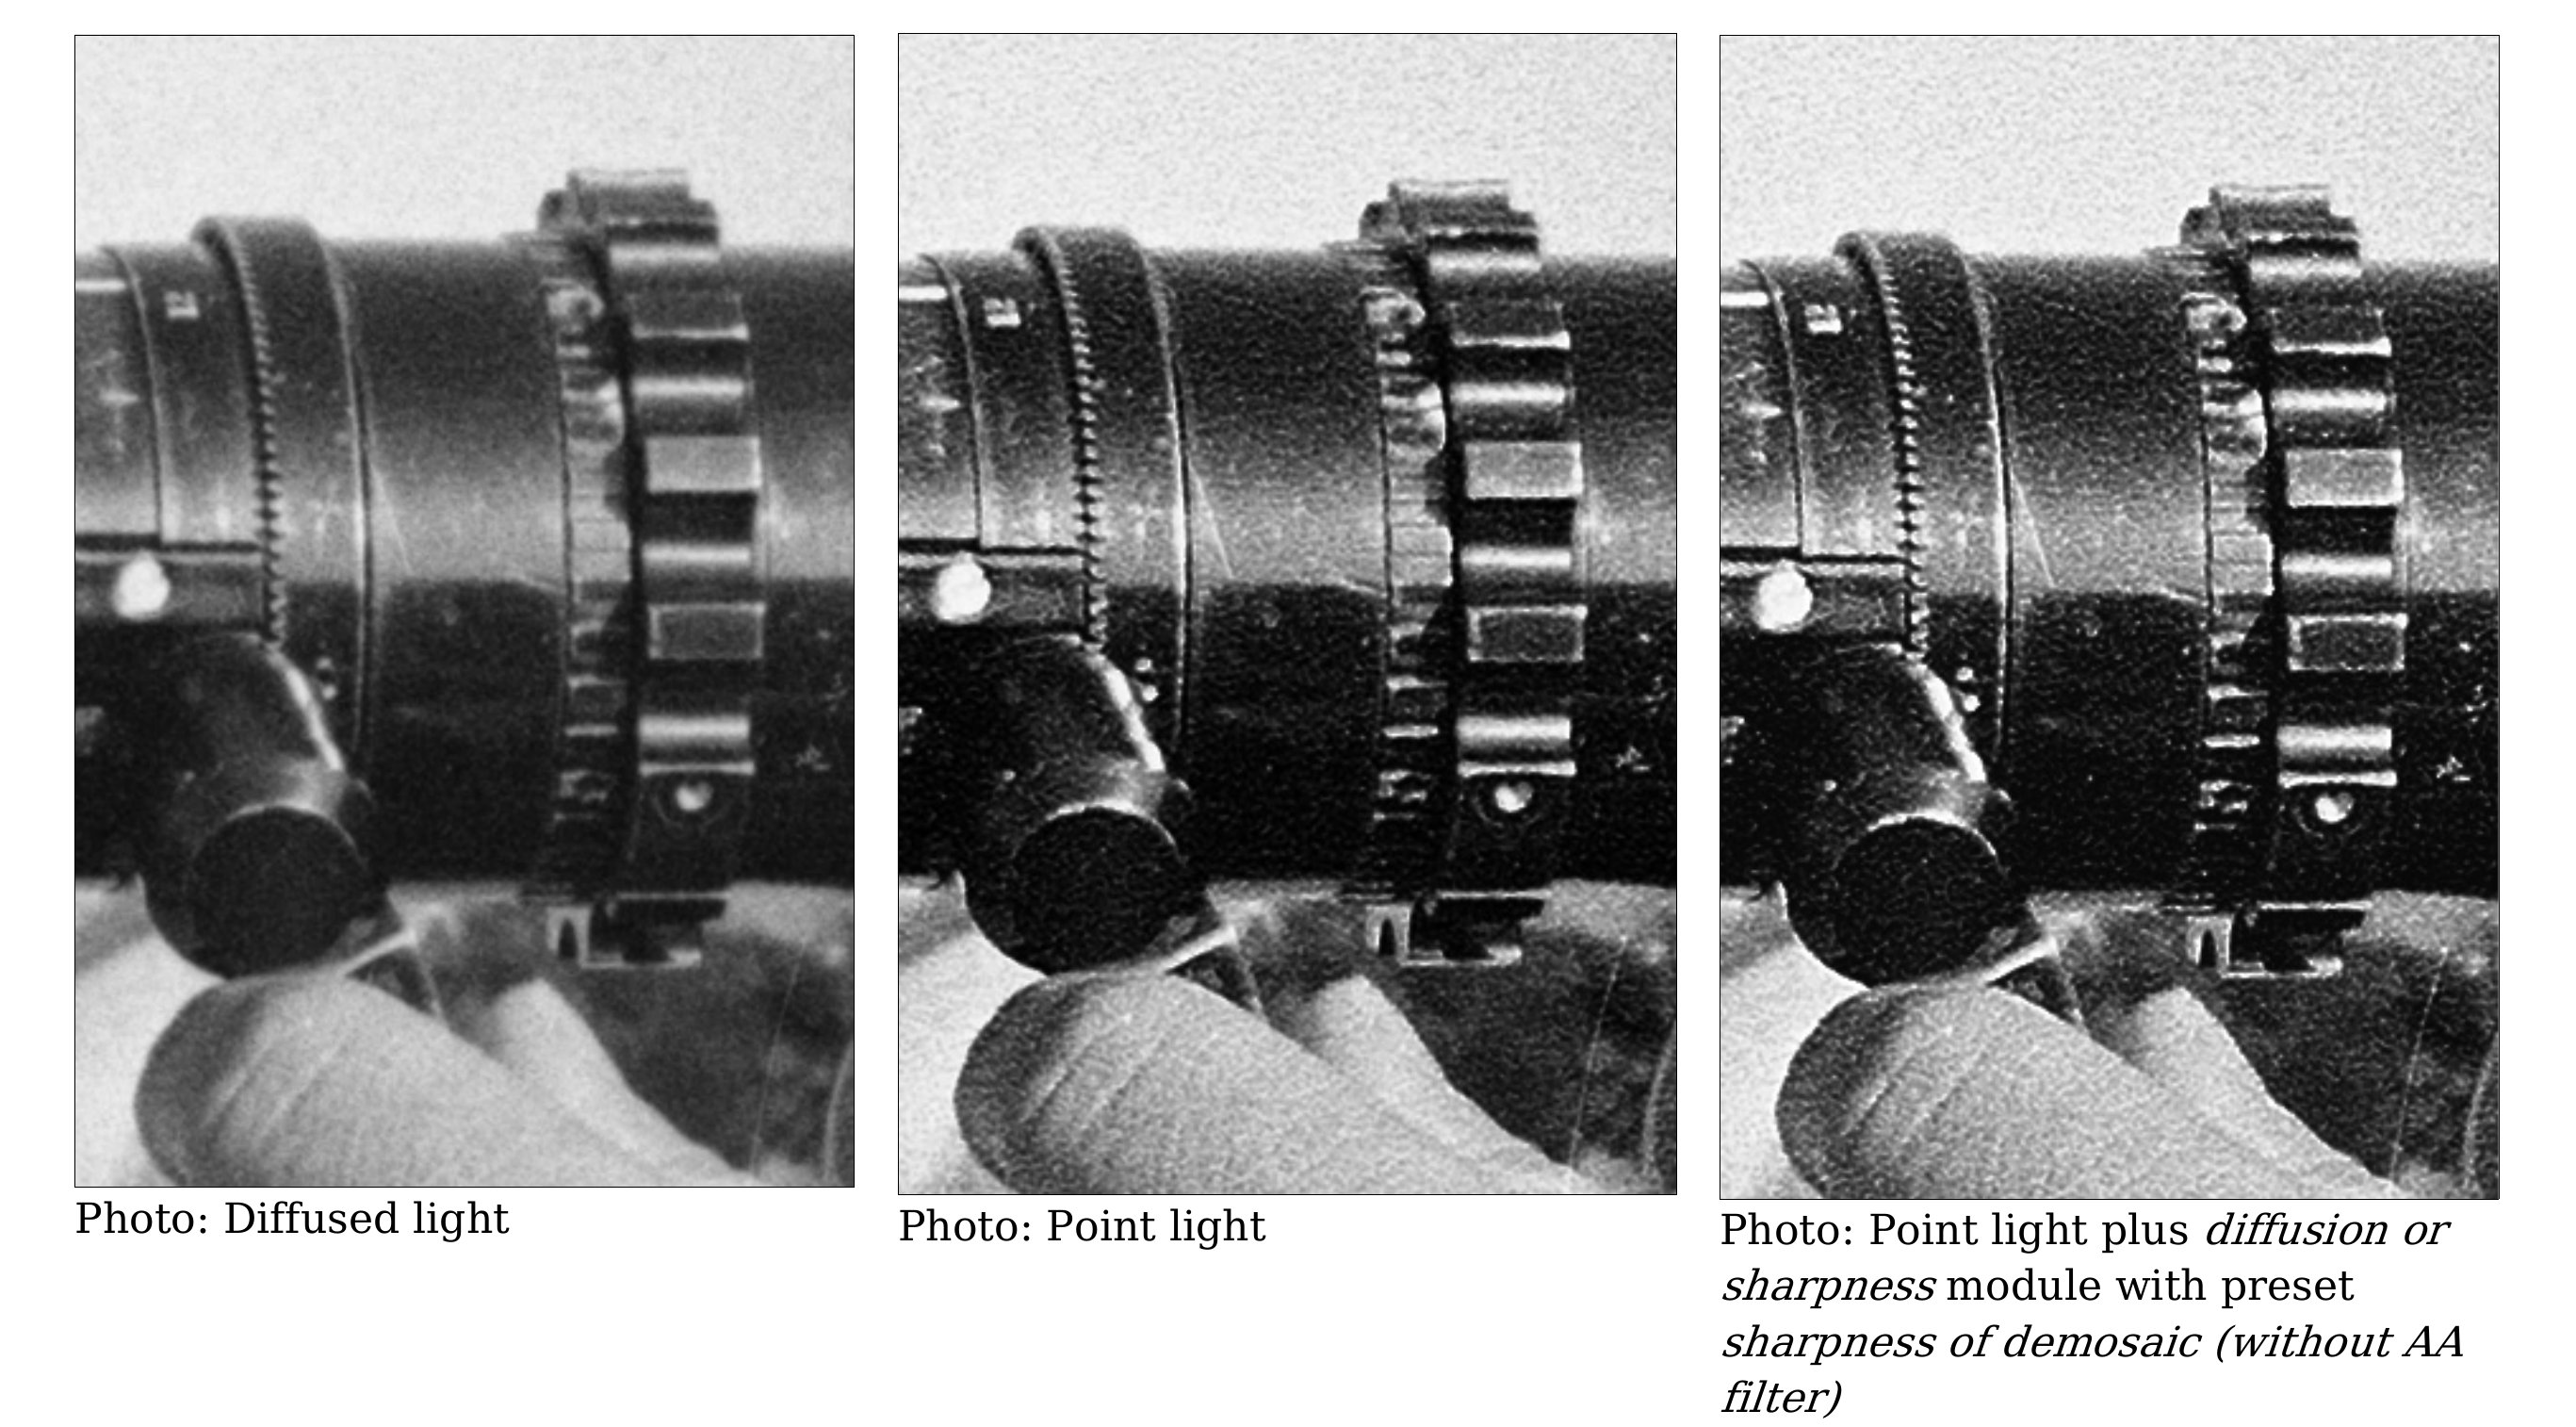
Alain Oguse learned photographic printing with Claudine  and Jean-Pierre Sudre  in the late 1960’s, and spent his early career in commercial photography. After retiring, he started to investigate how to bring back the photographic (silver halide) grain in digital scans of film negatives, finding the same sharpness and quality he had with near-point light enlargers in the 1970’s.

The point light printing technique uses a very tiny source of light that gives a very precise and detailed reproduction of B&W film negatives, as opposed to diffuse lighting. It is very demanding, as its unforgiving sharpness and contrast do not hide scratches and dust on the film surface. Prints done this way would often need manual (painted) corrections on paper, inducing more work and more costs. By the end of the 1970’s, it was usually replaced by diffuse light… better at hiding manipulation mistakes and at maximizing print labs profits.
Printing

The scene-referred workflow promises an editing independent from the output medium. It will typically produce an image encoded in sRGB colorspace with 8 bits, that is code values between 0 and 255. To simplify, we will consider here only the 8 bits case. Concepts are the same in 16 bits, only the coding range goes from 0 to 65535, which is anecdotal.

The printing problem

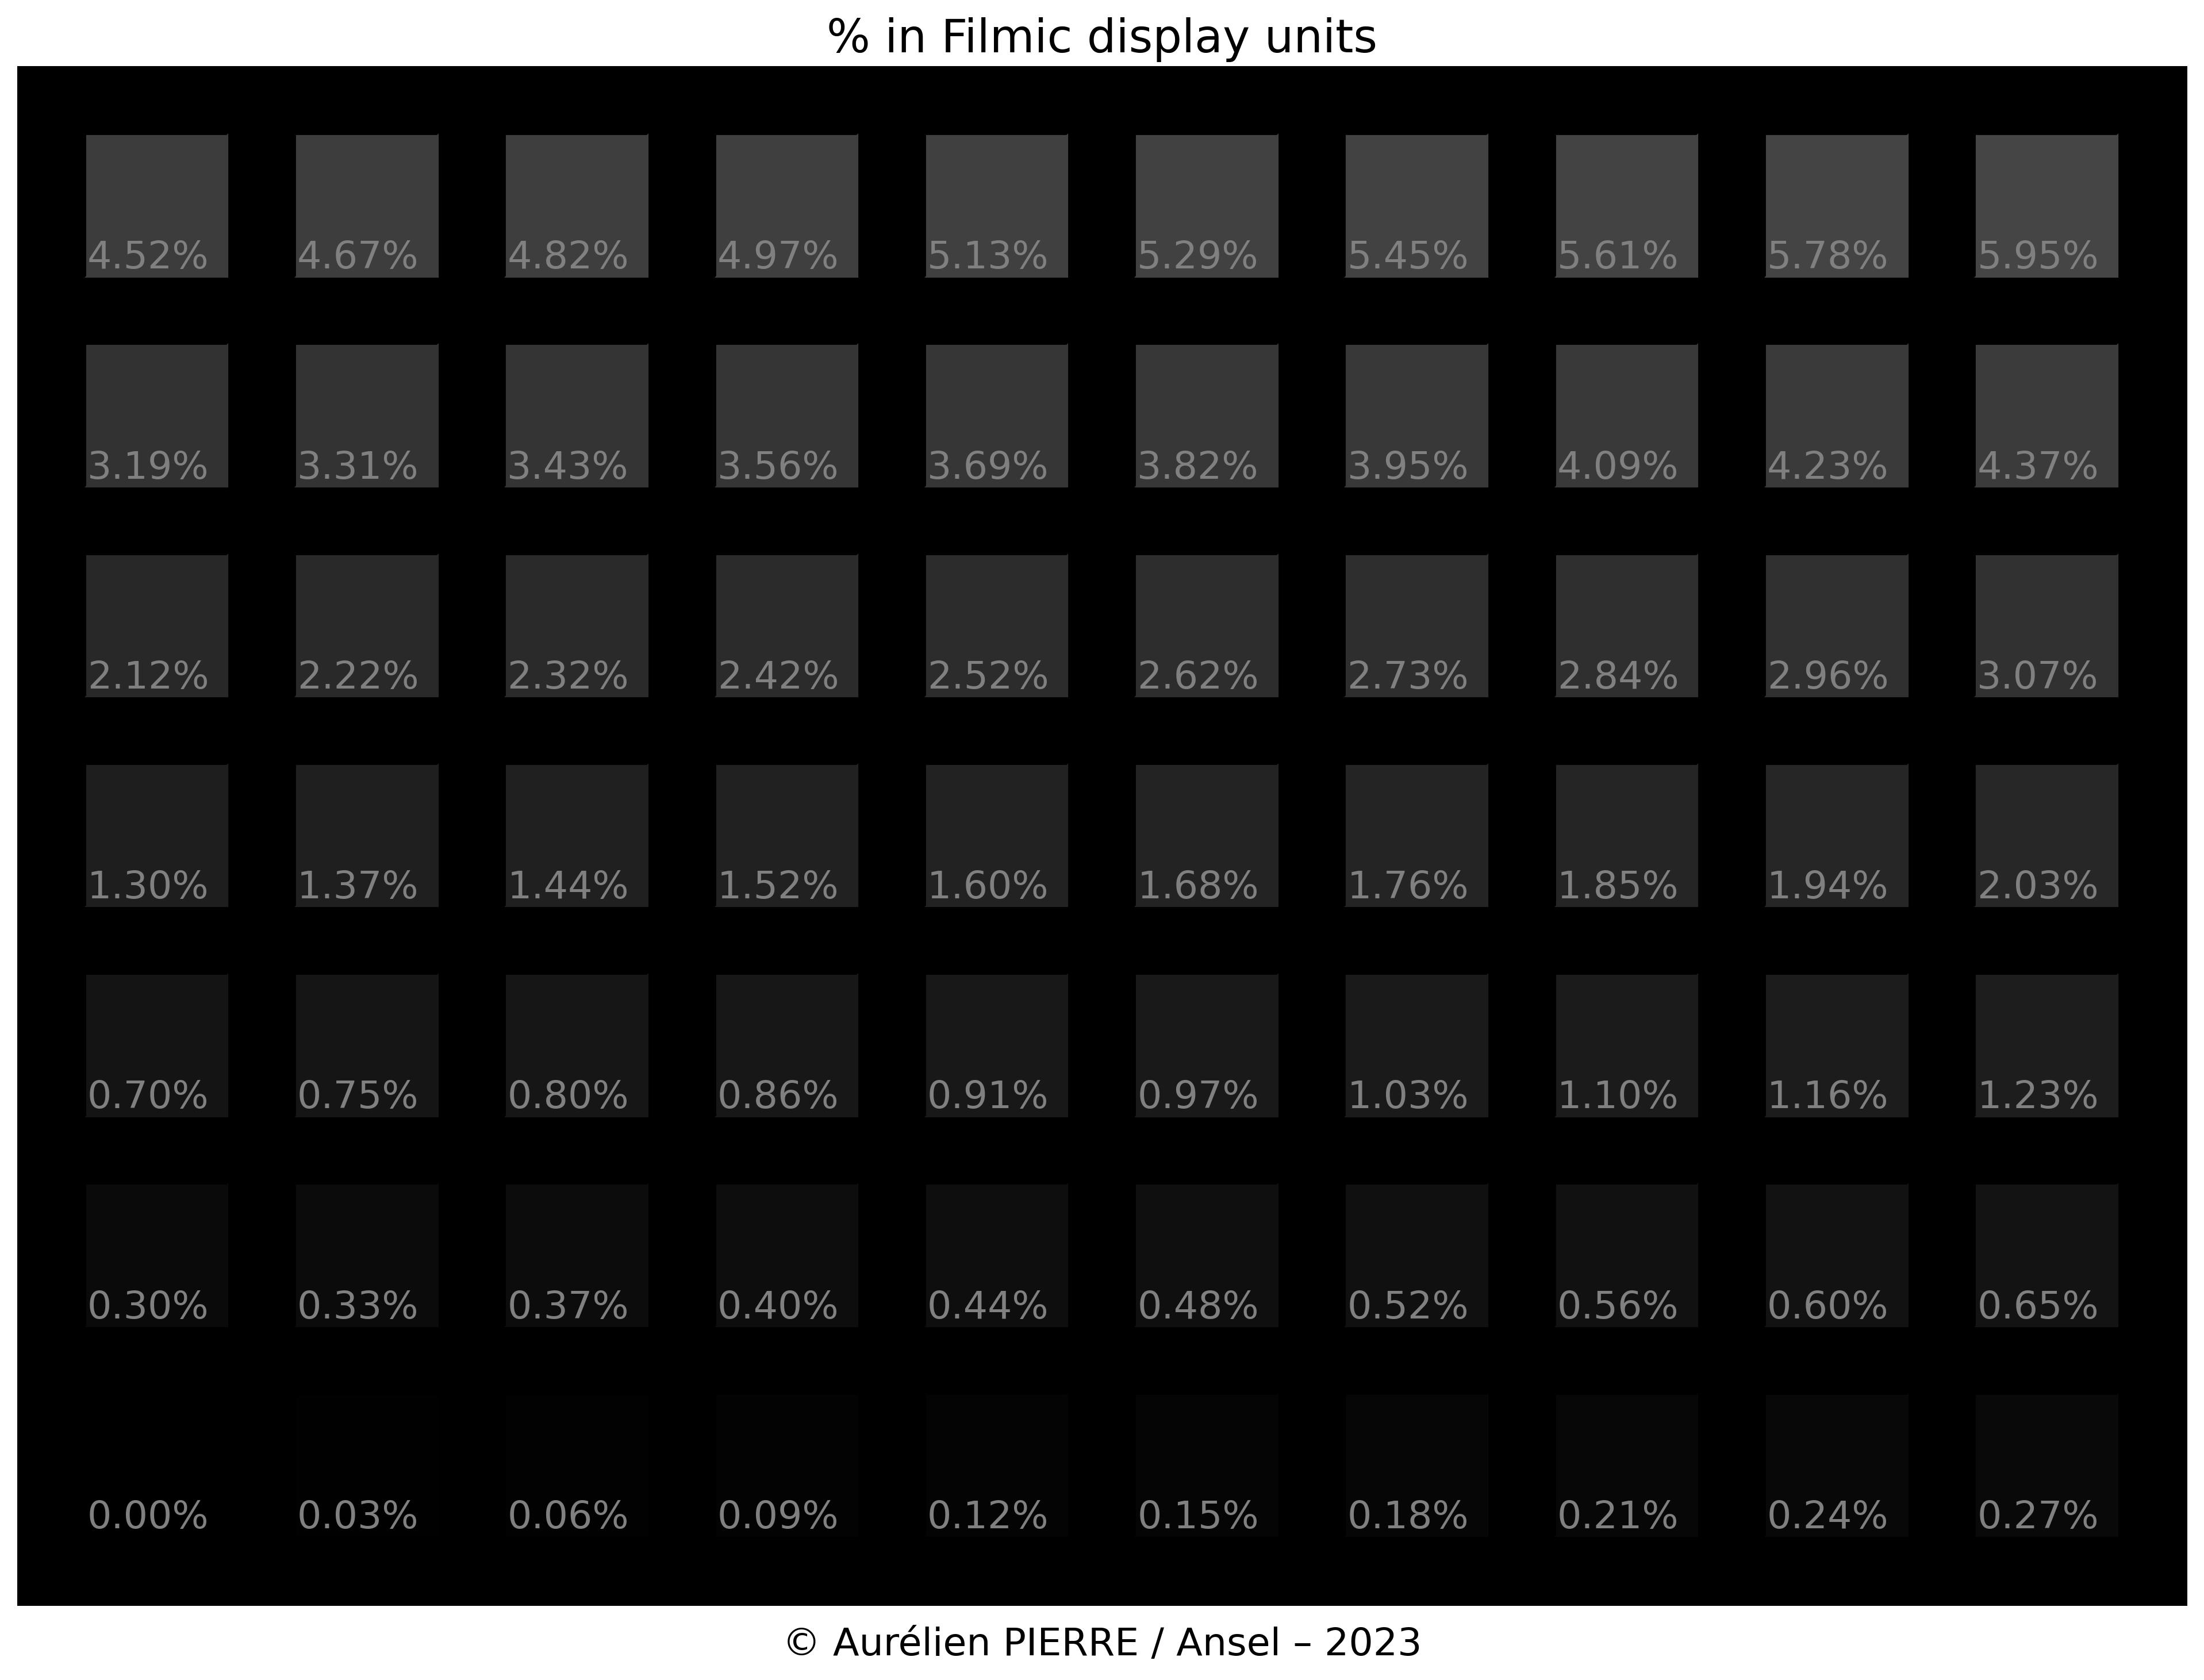
Unfortunately, nothing guarantees that the printer is able to use the whole encoding range. The minimum density (Dmin in analog) is reached with naked paper, and matches an RGB code value 255. The maximum density (Dmax in analog) is reached with 100% ink coverage.1 Problem is, if Dmin matches an RGB code value of 255, Dmax never matches an RGB value of 0.

Basic Editing

Here is how to get started with Ansel editing, going through only the most basic steps that should serve you well most of the time.

The video was recorded on Darktable 3, but the same modules and principles apply to Ansel.

Monochrome toning

Film Monochrome

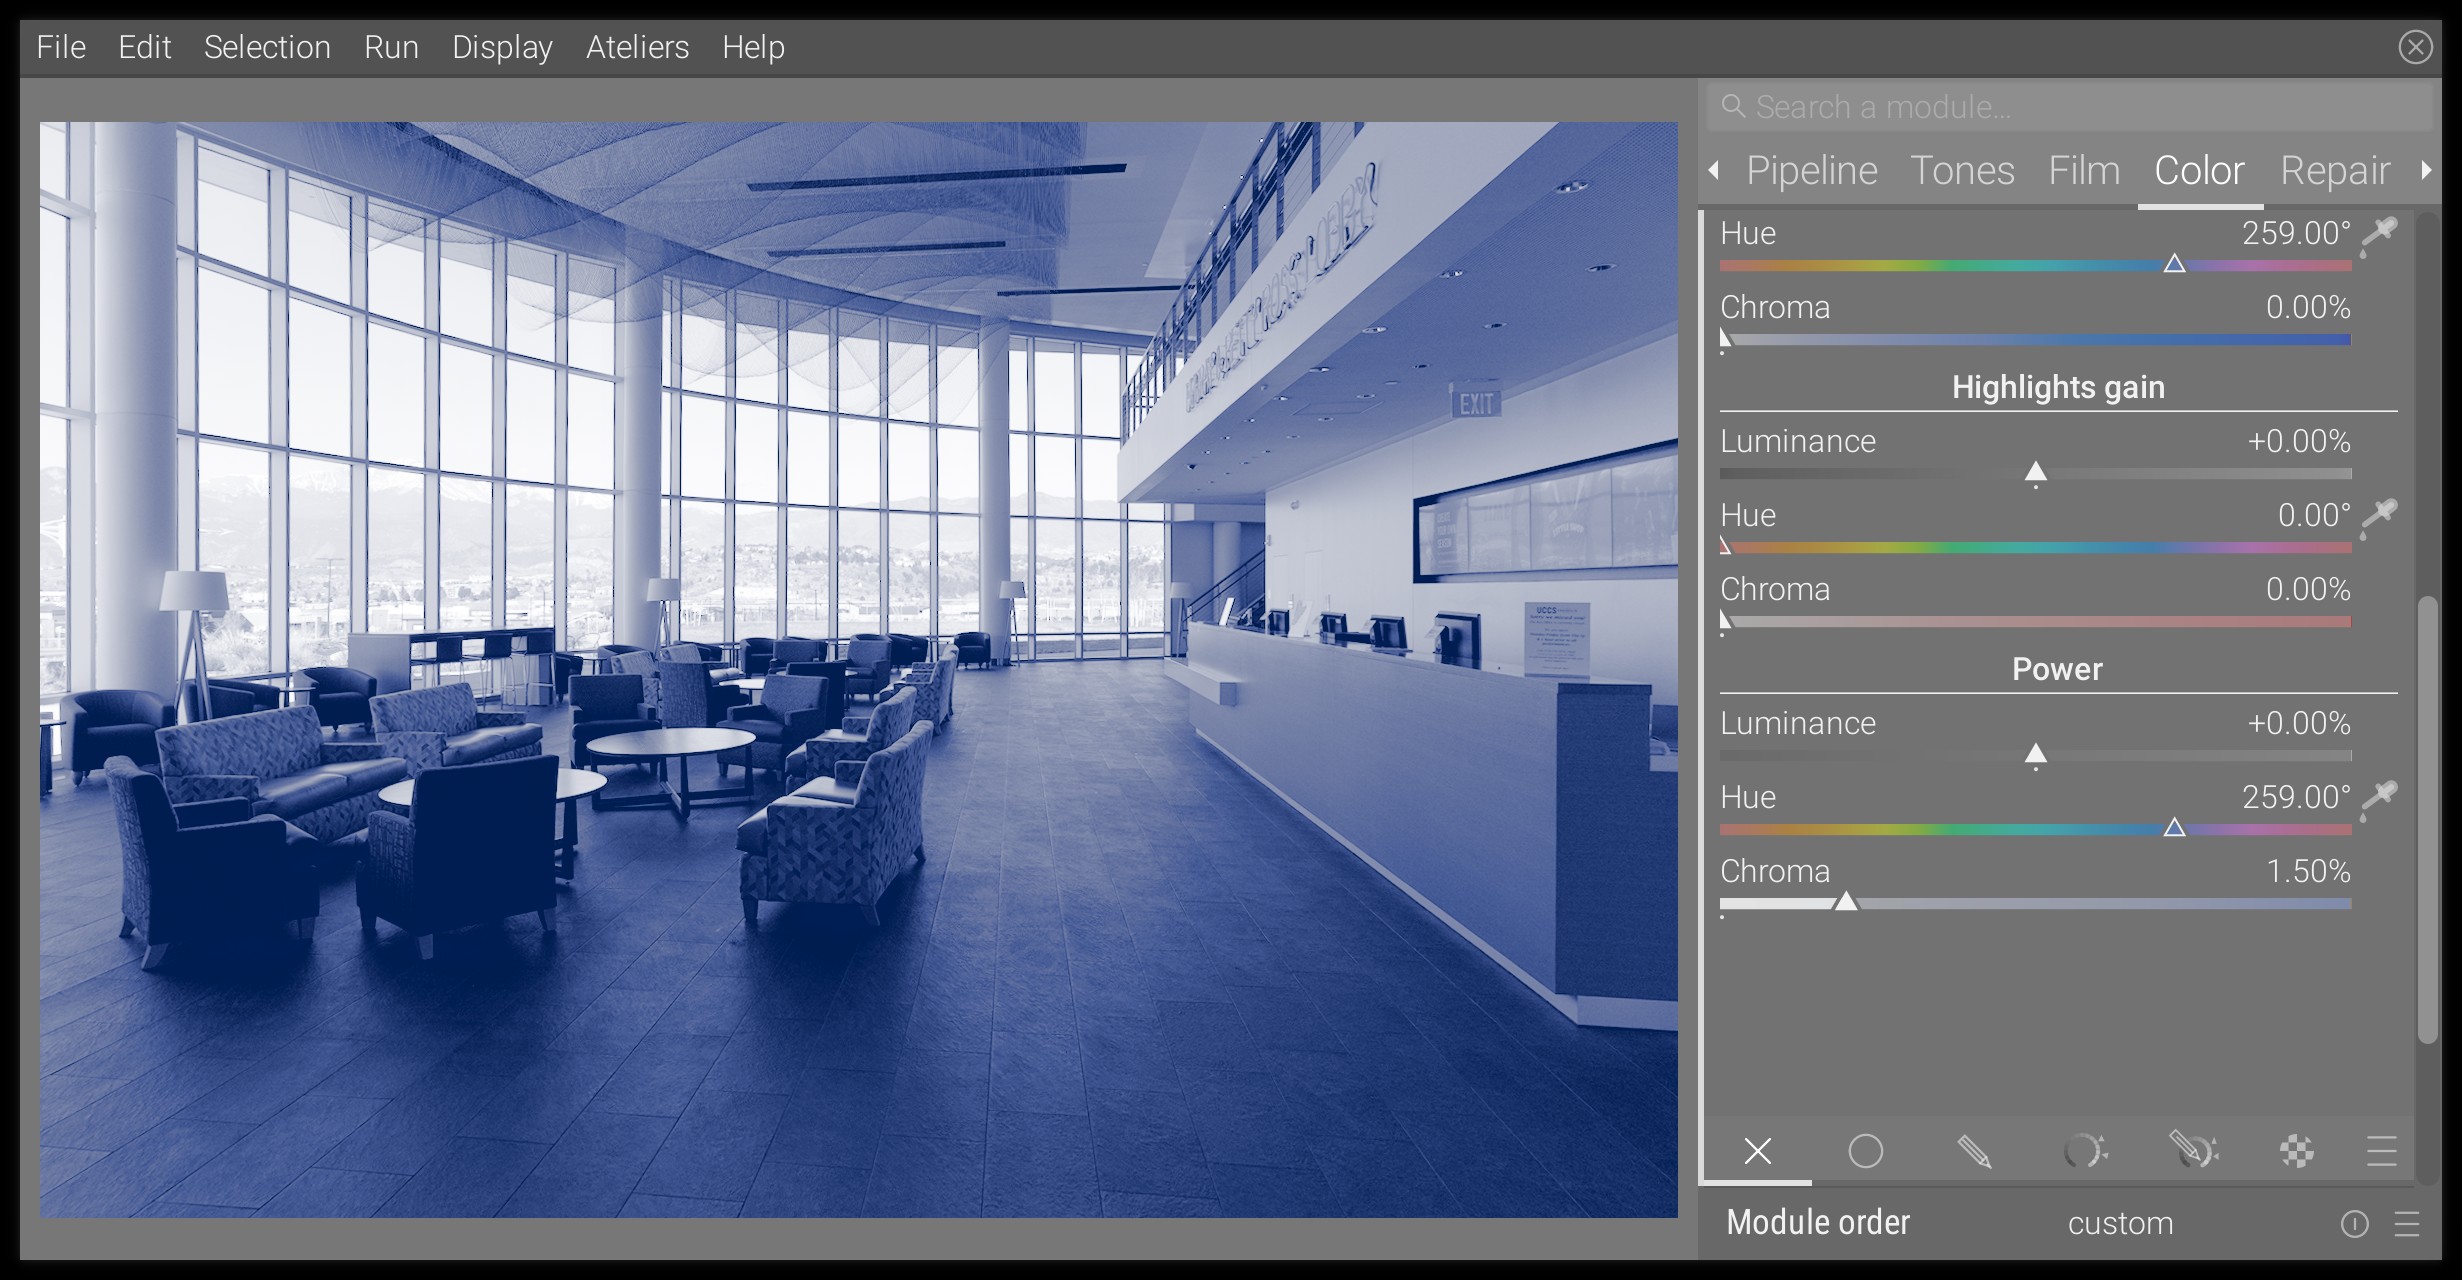
This article will demonstrate how to perform monochrome toning on digital images in Ansel, to emulate the color rendition of cyanotypes, platinotypes, sepia and split-toning developments.

Step 0 : global preparation

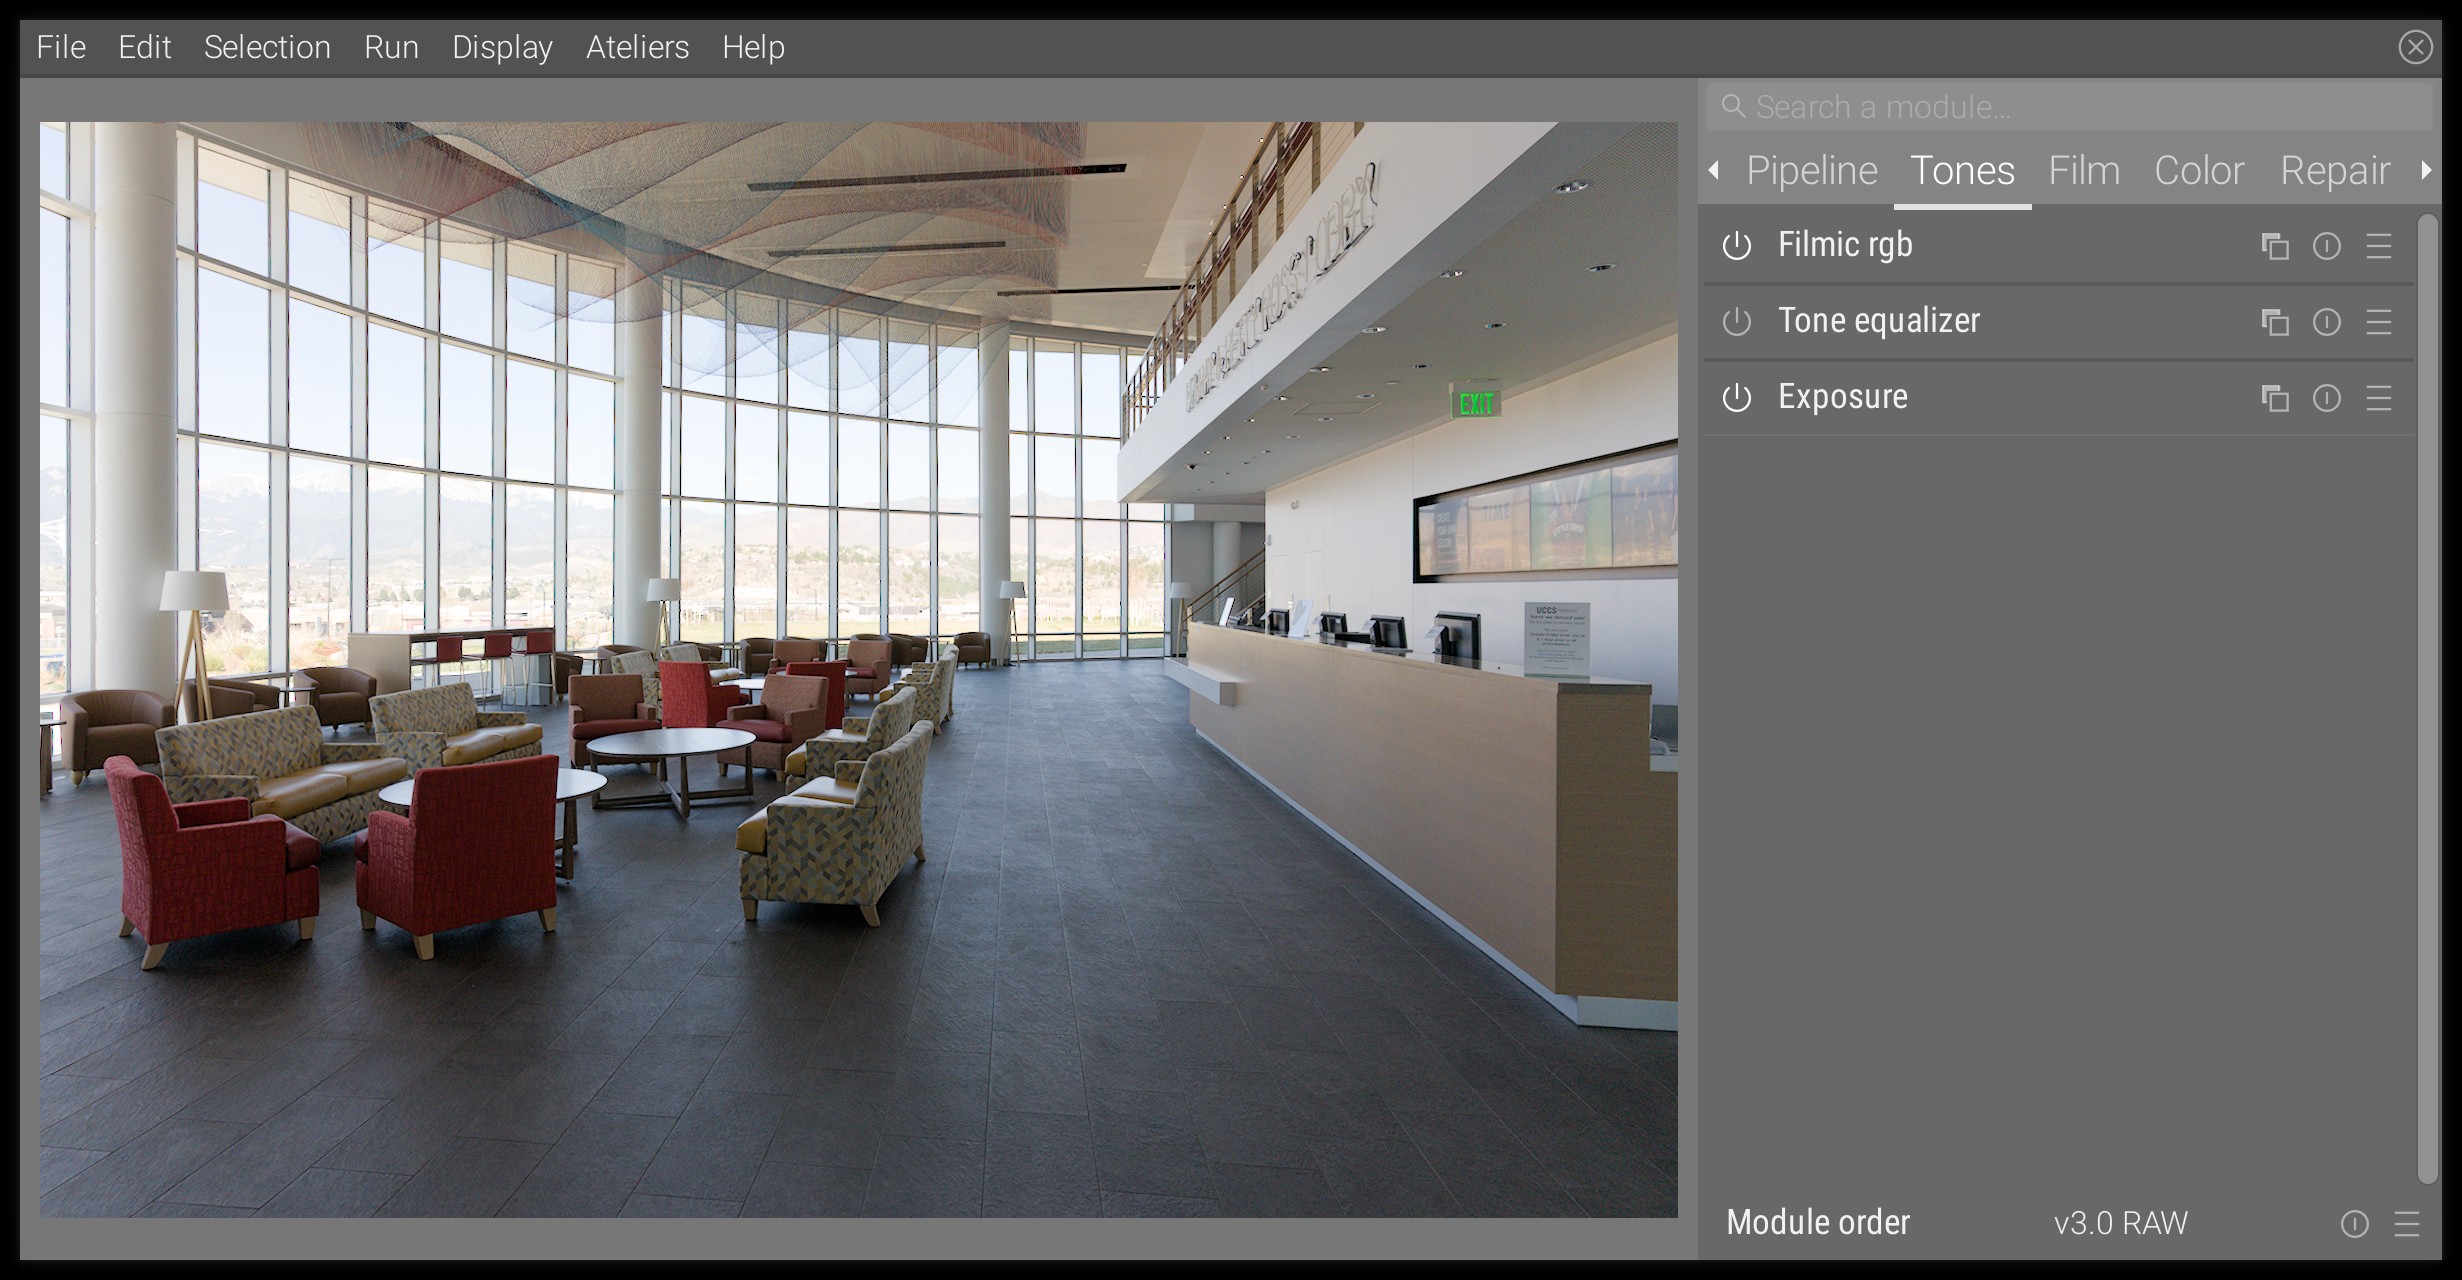
Set the global exposure and filmic scene white and scene black, as in any other editing. See basic editing steps. This is our base image, by Glenn Butcher :

image

The scene-referred workflow

Color Science Pipeline

In this article, you will learn what the scene-referred workflow is, how Ansel uses it and why it benefits digital image processing at large.

Introduction

The scene-referred workflow is the backbone of the Ansel’s imaging pipeline. It is a working logic that comes from the cinema industry, because it is the only way to achieve robust, seamless compositing (also known as alpha blending) of layered graphics, upon which movies rely heavily to blend computer-generated special effects into real-life footage. For photographers, it is mostly for high dynamic range (HDR) scenes (backlit subject, sunsets, etc.) that it proves itself useful.

Search

You can also ask Chantal, the AI search engine.