The mask manager — labelled Masking & Blending in the darkroom left panel — creates, renames, edits, groups and deletes the drawn shapes used by masks. It shares its shape system with the per-module masking & blending controls: a shape drawn here is the same object a module can use as a mask, and vice-versa.
The top row of buttons creates new shapes — the same brush, circle, ellipse, path and gradient tools as the drawn mask interface. Below them is a list of every mask and shape defined for the current image.
Groups of shapes that form a module’s mask appear with a heading of the form grp <module name>, with their component shapes nested below. After the groups comes a list of every individual shape that exists for the image. A symbol to the right of a shape name indicates that it is in use by a mask.
Shapes
Each new shape gets an automatic name made of its type (brush, circle, ellipse, path, gradient) and an incrementing number. Double-click a name to rename it — meaningful names help a lot when reusing a selection across masks.
Click a shape name to display just that shape and its controls on the canvas. This is the reliable way to grab one shape among many overlapping ones. Selecting a shape on the canvas from within a module’s mask controls likewise highlights it here.
Right-click a shape name for options to remove it, or to remove all shapes not currently in use.
Note
Ansel keeps every shape ever defined for an image until you explicitly remove it. If you export with the development history, all defined shapes are written to the XMP. A very long list of shapes can exceed the size limit of some file formats and make XMP writing fail on export — prune unused shapes when in doubt.
Masks and groups
A mask is a group of shapes applied in list order (top to bottom), each combining with the running mask through one of four set operators. Because order matters, shapes can be moved up and down the list.
Click a group name to expand it and show its shapes (also drawn on the image). Showing a mask from within a module expands the matching group here.
Right-click a group name to add new or existing shapes, clean up unused shapes, or delete the group.
Right-click a shape inside a group to control its contribution:
remove from group
Remove the shape from the mask.
use inverted shape
Invert the polarity of the shape.
mode
Choose the set operator combining this shape with the preceding mask.
move up / down
Reorder the shape within the group.
To build your own group, select the shapes, right-click and choose group the forms.
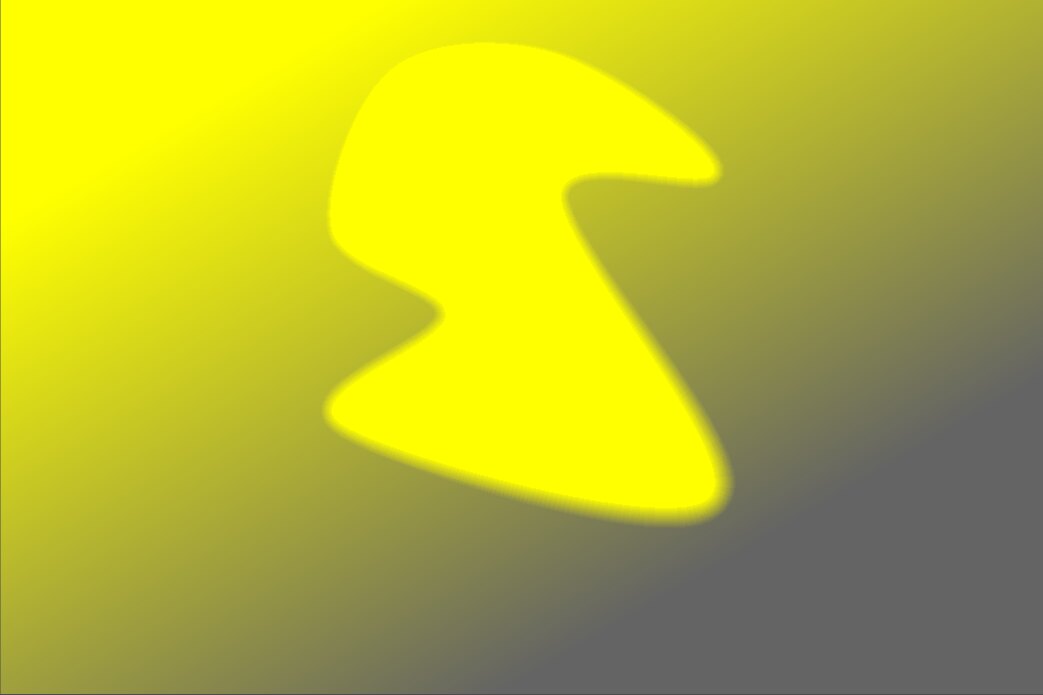
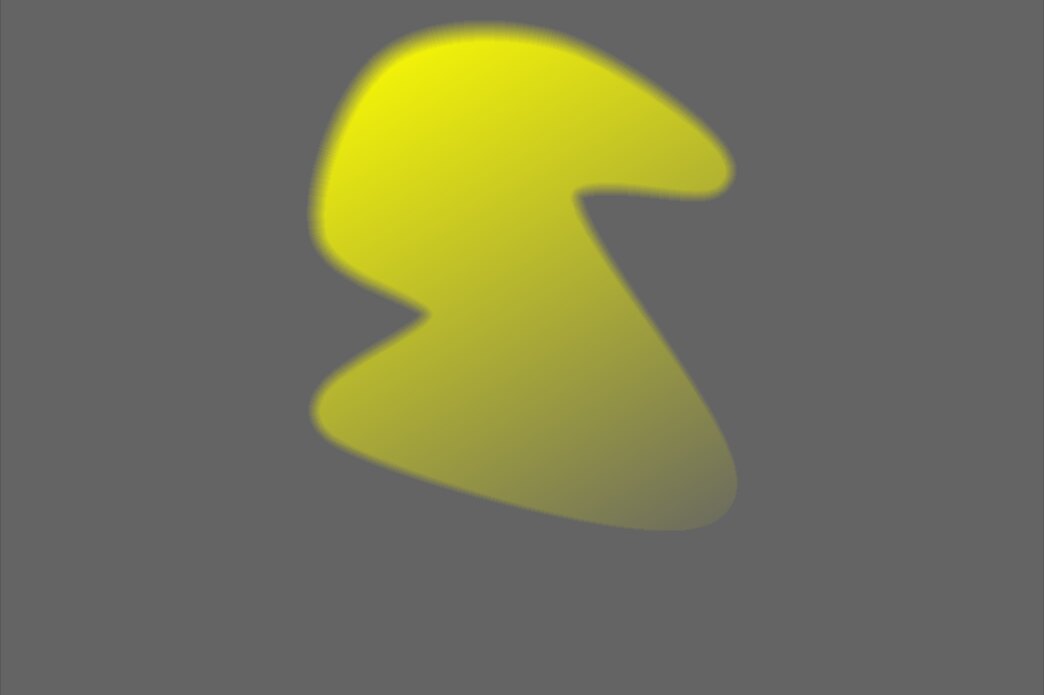
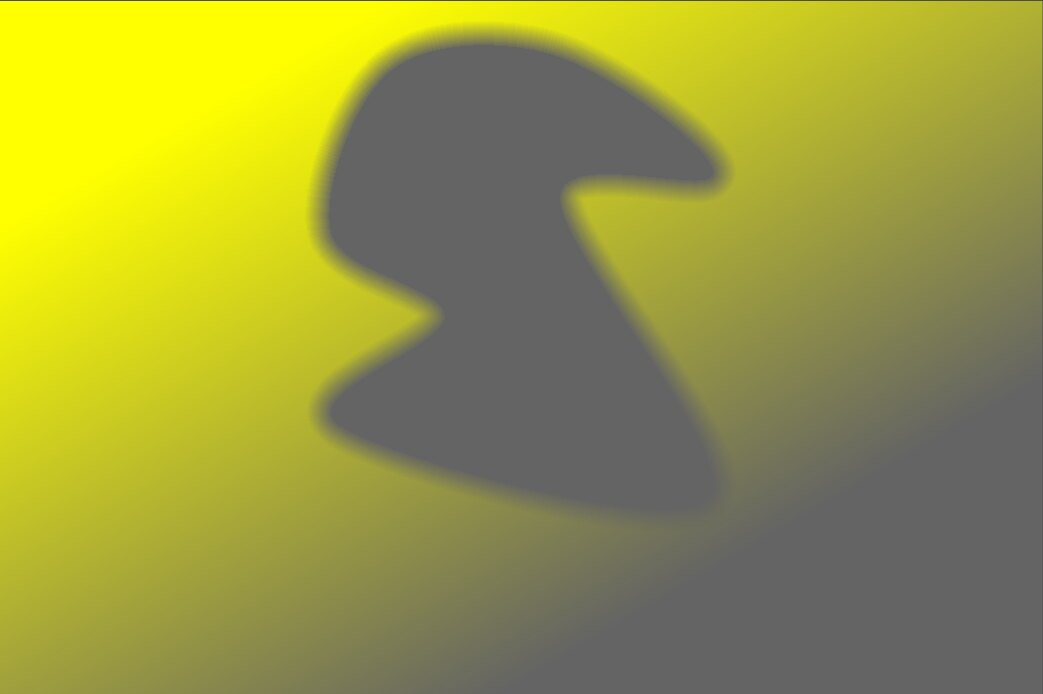
Set operators
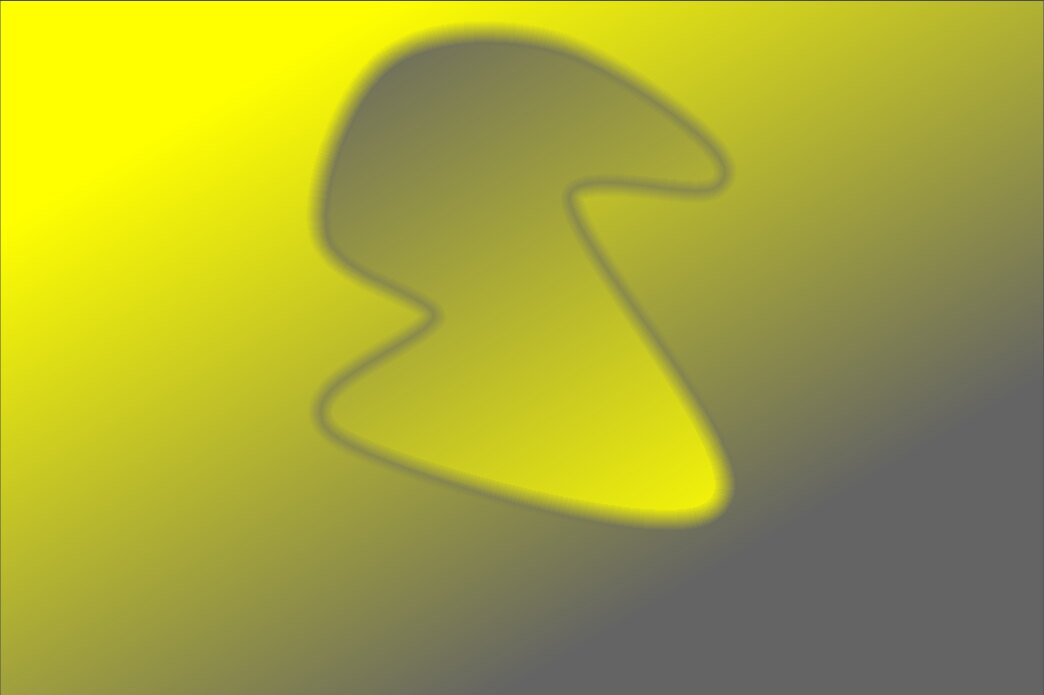
Set operators define how each shape combines with the mask built from the shapes above it. Taking a pixel to be “selected” when its opacity is greater than zero. The examples below combine a gradient with a path, showing the effect of each operator applied to the path:
union
The default (
). The result selects pixels that are in the existing mask or in the added shape (the maximum value is taken where they overlap).
intersection
The result selects only pixels that are in both the existing mask and the added shape (the minimum value is taken where they overlap) — useful to “imprint” one shape onto another.
difference
The result keeps pixels that are in the existing mask but not in the added shape — useful to cut a region out of a selection.
exclusion
The result selects pixels that are in the existing mask or the added shape but not both (an exclusive or).